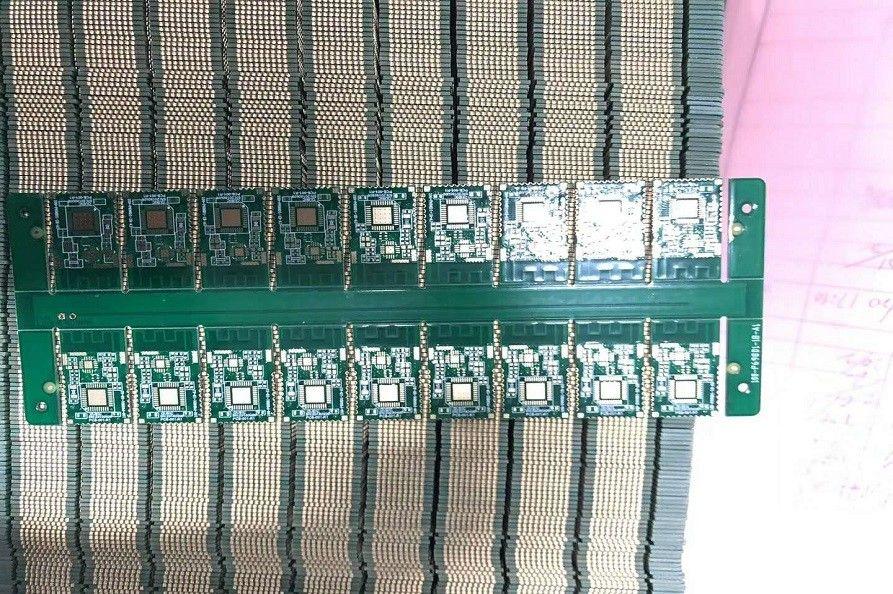
HDI PCB Manufacturing Process
We live in an age of smart devices. Our smartphones have significantly more computing power than NASA had when it sent a man to the moon. It didn't happen overnight. It happened through decades of research and refinement, and the emergence of new technologies. One of the technologies that have contributed significantly to the compactness and improvement of electrical circuits is HDI PCB.
High-Density Interconnector PCB is an old concept. But it’s continuously evolving. It’s still a bit more expensive and complex than conventional PCB design, which means that designers should be better prepared and more careful when they are working on HDI PCBs. One thing that can help a designer create better HDI PCBs is to understand their manufacturing process. The perspective from the other end of the production line can be highly productive for engineers.
HDI PCB Manufacturing
One of the key distinctions that HDI has over conventional PCBs is micro vias. Mircovias are significantly smaller than regular vias, and since mechanical drills have their limitations, laser drills are used to create microvias. Another difference is that interconnections between layers are made using blind and buried vias, stacked over each other or staggered. Either way, they provide a substantially better replacement to plated through vias.
Two important things that every designer must understand about HDI manufacturing are aperture and stack-ups, and how they affect the fabrication process. Aperture or aspect ratio for plated through holes used to be 6:1, mostly 8:1, and in some cases 12:1. But for microvias, the ideal aspect ratio should be 1:1. Microvia hole diameter relates directly to the thickness of the board.
The second most important thing is to choose the right stack up. While it is associated mostly with your circuitry requirements, choosing a complex stack-up for a simple circuit is gets needlessly costly. The use of stacked and staggered microvia adds to the complexity of HDI fabrication, and consequently, to the cost.
Let's say you are manufacturing a six-layer HDI PCB; the manufacturing steps are usually as follows.
The first step is mechanical drilling of buried holes. It starts from the innermost layers, which for a six-layer stack-up would layers three and four. They will be sandwiched between two and five, and then one and six. Consequently, the 3-4 mechanical drilling will be followed by buried holes from 2-5, and then from 1-6. It’s important to understand that fabricators need to follow this line-up, because if they start jumping layers, like trying to drill 2-5 disregarding the 3-4 buried holes, the design may face severe issues in later stages of fabrication.
If blind holes need to be drilled (surface to one inner layer), they come next. Blind holes from the first surface layer 1-2 and from the bottom layer 6-5 are drilled after buried holes. Another thing to note here is when blind holes are made using a laser drill; there is a phenomenon, "coke button," that needs to be taken care of. Laser drills operate at extremely high temperatures, and the microvias they drill have very small apertures (openings). This generates coke buttons, which become part of the substrate forming the walls of the drill hole. Due to the size of the laser-drilled microvia, these coke buttons are hard to eliminate using conventional methods completely. In order to resolve the coke button issue, a costly blind hole plating process is used, which ensures the quality and integrity of the circuit, and the underlying Monrovia. Another unintended effect of cauterizing takes place, which has the potential to oxidize the copper in the next process. Before depositing the copper, some pre-operation steps are needed to eliminate/reduce the copper oxidation potential.
Once the copper is deposited and electroplated to stick, inner patterns are generated and etched. This process is similar to that of a conventional PCB’s fabrication. The difference is that the traces are much more refined, and the mircovias are significantly smaller than through-hole vias.
Automated Optical Inspection of the inner layers (3-4 layers in this case) takes place. This ensures that the patterns and micro vias are all in the intended places. Layer by layer AOI in every stage of the stack-up ensures that the finished product is in excellent form. Then there is the brownification process to increase the bonding between the copper of inner layers and the substrate of the next layers of the HDI stack-up.
Layers two and five are stacked up over layers three and four, completing four-layer fabrication of the HDI circuit. If any holes need to be drilled (buried mirovias usually) that need to penetrate all three or four layers of the stack-up, they are drilled at this stage. The same process is repeated until the top layers now (two and five) are completed and ready. Then the final, outer layers (one and six) are stacked on top.
There are significant overlaps between a conventional PCB's fabrication and an HDI PCB’s fabrication. The major differences come from microvias, drilling hierarchy, and stack-up arrangement. If they aren’t done in the right order, or without proper care, the final product may not function properly. Also, the number of layers to stack-up and the complexity of the HDI circuit that needs to be fabricated are major cost drivers.
Other aspects of an HDI fabricator that a designer should know about are its layout and trace widths. Without a properly considered layout (i.e., right tracing between components, BGA, and PIN configurations), it can be hard to populate the HDI in the later stages of fabrication.
Final Words
HDI PCB design and manufacturing, especially for complex circuits with high layer counts and several buried, blind microvias that need to be stacked or staggered over each other, can increase the complexity and cost of the HDI. In this regard, you should take a minimalist view, and use stack-up and other HDI resources only as needed. Also, choose your manufacturer and fabricator wisely. PCB Fabricators that have experience working on thousands of HDIs and prototypes have usually seen it all. And they have refined their techniques for optimal cost and maximum quality of the finished circuit.


